Converting KUAs To P4 With Mike Ainsworth - Let's Get Involved
Welcome to our latest instalment of our "Let's Get Involved" series. In this feature, Mike Ainsworth of the Scalefour Society converts our monster KUA nuclear flask wagons to P4. Take it away, Mike...
The Accurascale KUA is an impressive beast and has received some rave reviews. Yet its very size and complexity might make it seem an unpromising candidate for conversion to P4 or EM. In the event, though, it turned out to be a far less forbidding prospect than it might appear. (I should say here that what follows describes a P4 conversion but I see no reason why the same approach shouldn’t work in EM). So let’s take a look at what’s involved.

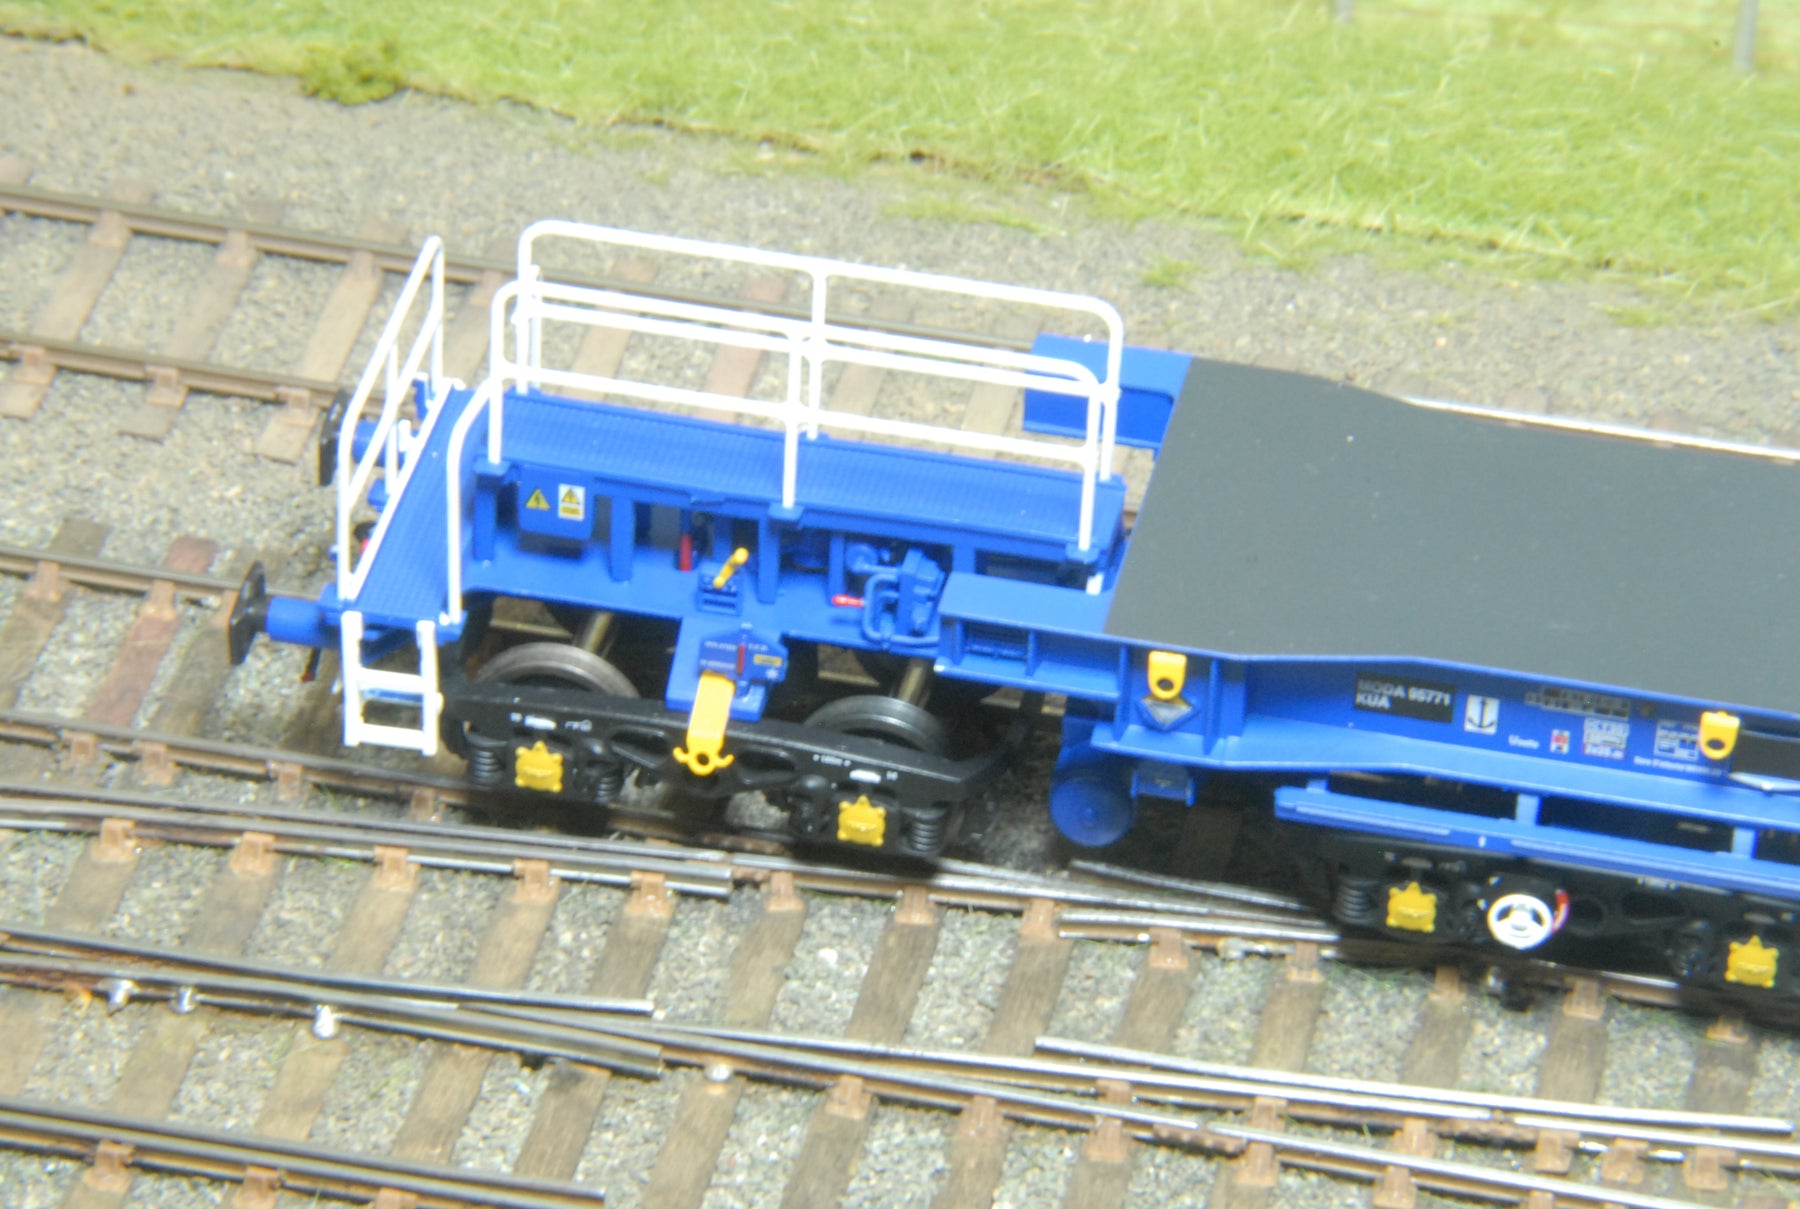
The first photo shows what you see when you turn the wagon upside down. The body is supported on two subframes, each of which rides on two bogies. Each bogie is attached to its respective subframe by a single crosshead screw so the first job is to remove these screws to release the bogies. The Accurascale factory obviously weren’t taking any chances on the bogies coming adrift by accident and a couple of the screws on my sample wagons put up a bit of a fight before they moved. But a little bit of judicious force was eventually enough to persuade them to come out.
The 00 wheels can then be sprung out of the bogies. If you then try slotting the replacement P4 wheels in their place, you will quickly discover the only real snag with this whole project, which is that the Accurascale axles are about 0.7mm longer than the P4 ones. Interestingly, this is the opposite of the situation with the Cemflos where the Accurascale axles are shorter than standard P4 ones. Anyway, the result is that if you simply substitute P4 wheels at this point, they’ll slop about between the bogie sideframes and will more than likely fall out altogether. Not what we want at all…

Luckily, the same solution comes to our rescue here as it did with the Cemflos; we can do away with the 00 wheels but salvage the axles for reuse. The next photo shows the fairly agricultural method of removing the 00 wheels using two pairs of pretty hefty pliers. You’ll need to apply a bit of force but damage to the wheels doesn’t matter because we won’t be needing them anyway. As for the axles, they’re a fairly meaty 3mm diameter for much of their length so it just needs an ordinary amount of care to ensure you don’t bend them.
The replacement wheels are 12mm plain disc. The Alan Gibson catalogue, for one, describes these as “DMU disc” but don’t be put off – they really are the right ones, even if we are using them for a very different purpose. These wheels will probably come off their axles rather more easily than the 00 ones but if they should prove reluctant, it’s back to the pliers – in this case, though, making sure that it’s the wheels rather than the axles that are protected from damage.

I mentioned that the Accurascale axles are 3mm diameter over part of their length. At each end, though, they reduce to 2mm which is lucky for us because the replacement P4 wheels have a 2mm bore. That makes fitting the new wheels much more straightforward, though there are two things to watch.
First, as well as setting the wheels at the proper P4 back-to-back measurement, we need to mount them symmetrically on the axle, otherwise the bogie will run crabwise down the track, and more than likely derail. Having considered some more scientific methods, I found I could actually do this to an acceptable degree of accuracy by eye, checking that the same amount of axle protruded from each wheel while the wheelset was mounted in the back-to-back gauge- see the photo.

The second thing to consider is that inevitable slight variations in axle and wheel manufacture mean that some of the new wheels will be a tighter fit on the axle than others. A drop of superglue applied by a scrap of wire or a smear of epoxy on the inside of the wheel where it meets the axle – see the photo - should be enough to hold any slightly looser wheel in place.

That leaves just one more job before we can start reassembly. The brake blocks on the bogies need just a touch of thinning on their inner edges to give running clearance for the new wheels. This is an awkward job because the brakes are a bit inaccessible. I found the easiest way – and the one least likely to cause the brake shoes to snap off - was to put a brand new, unused blade in the scalpel and take off the plastic in small shavings. The photo below gives the general idea.

Then it’s just a case of springing the new wheels into place, screwing the bogies back onto their subframes and sitting back to admire your handiwork –photo below. Oh, and then doing it all over again on the second wagon. And working out what you’re going to do with thirty odd redundant 00 wheels…
Many thanks to Mike for providing us with this handy guide. Fancy having a go yourself? Pick up your KUA pack here today, while stocks last.